
A little while ago I shared about these photobooks I made for Anya’s preschool and pre-kindergarten years on Instagram and got lots of questions about them. Sharing more about these here today hoping it gives you guys a better idea of how I make these.

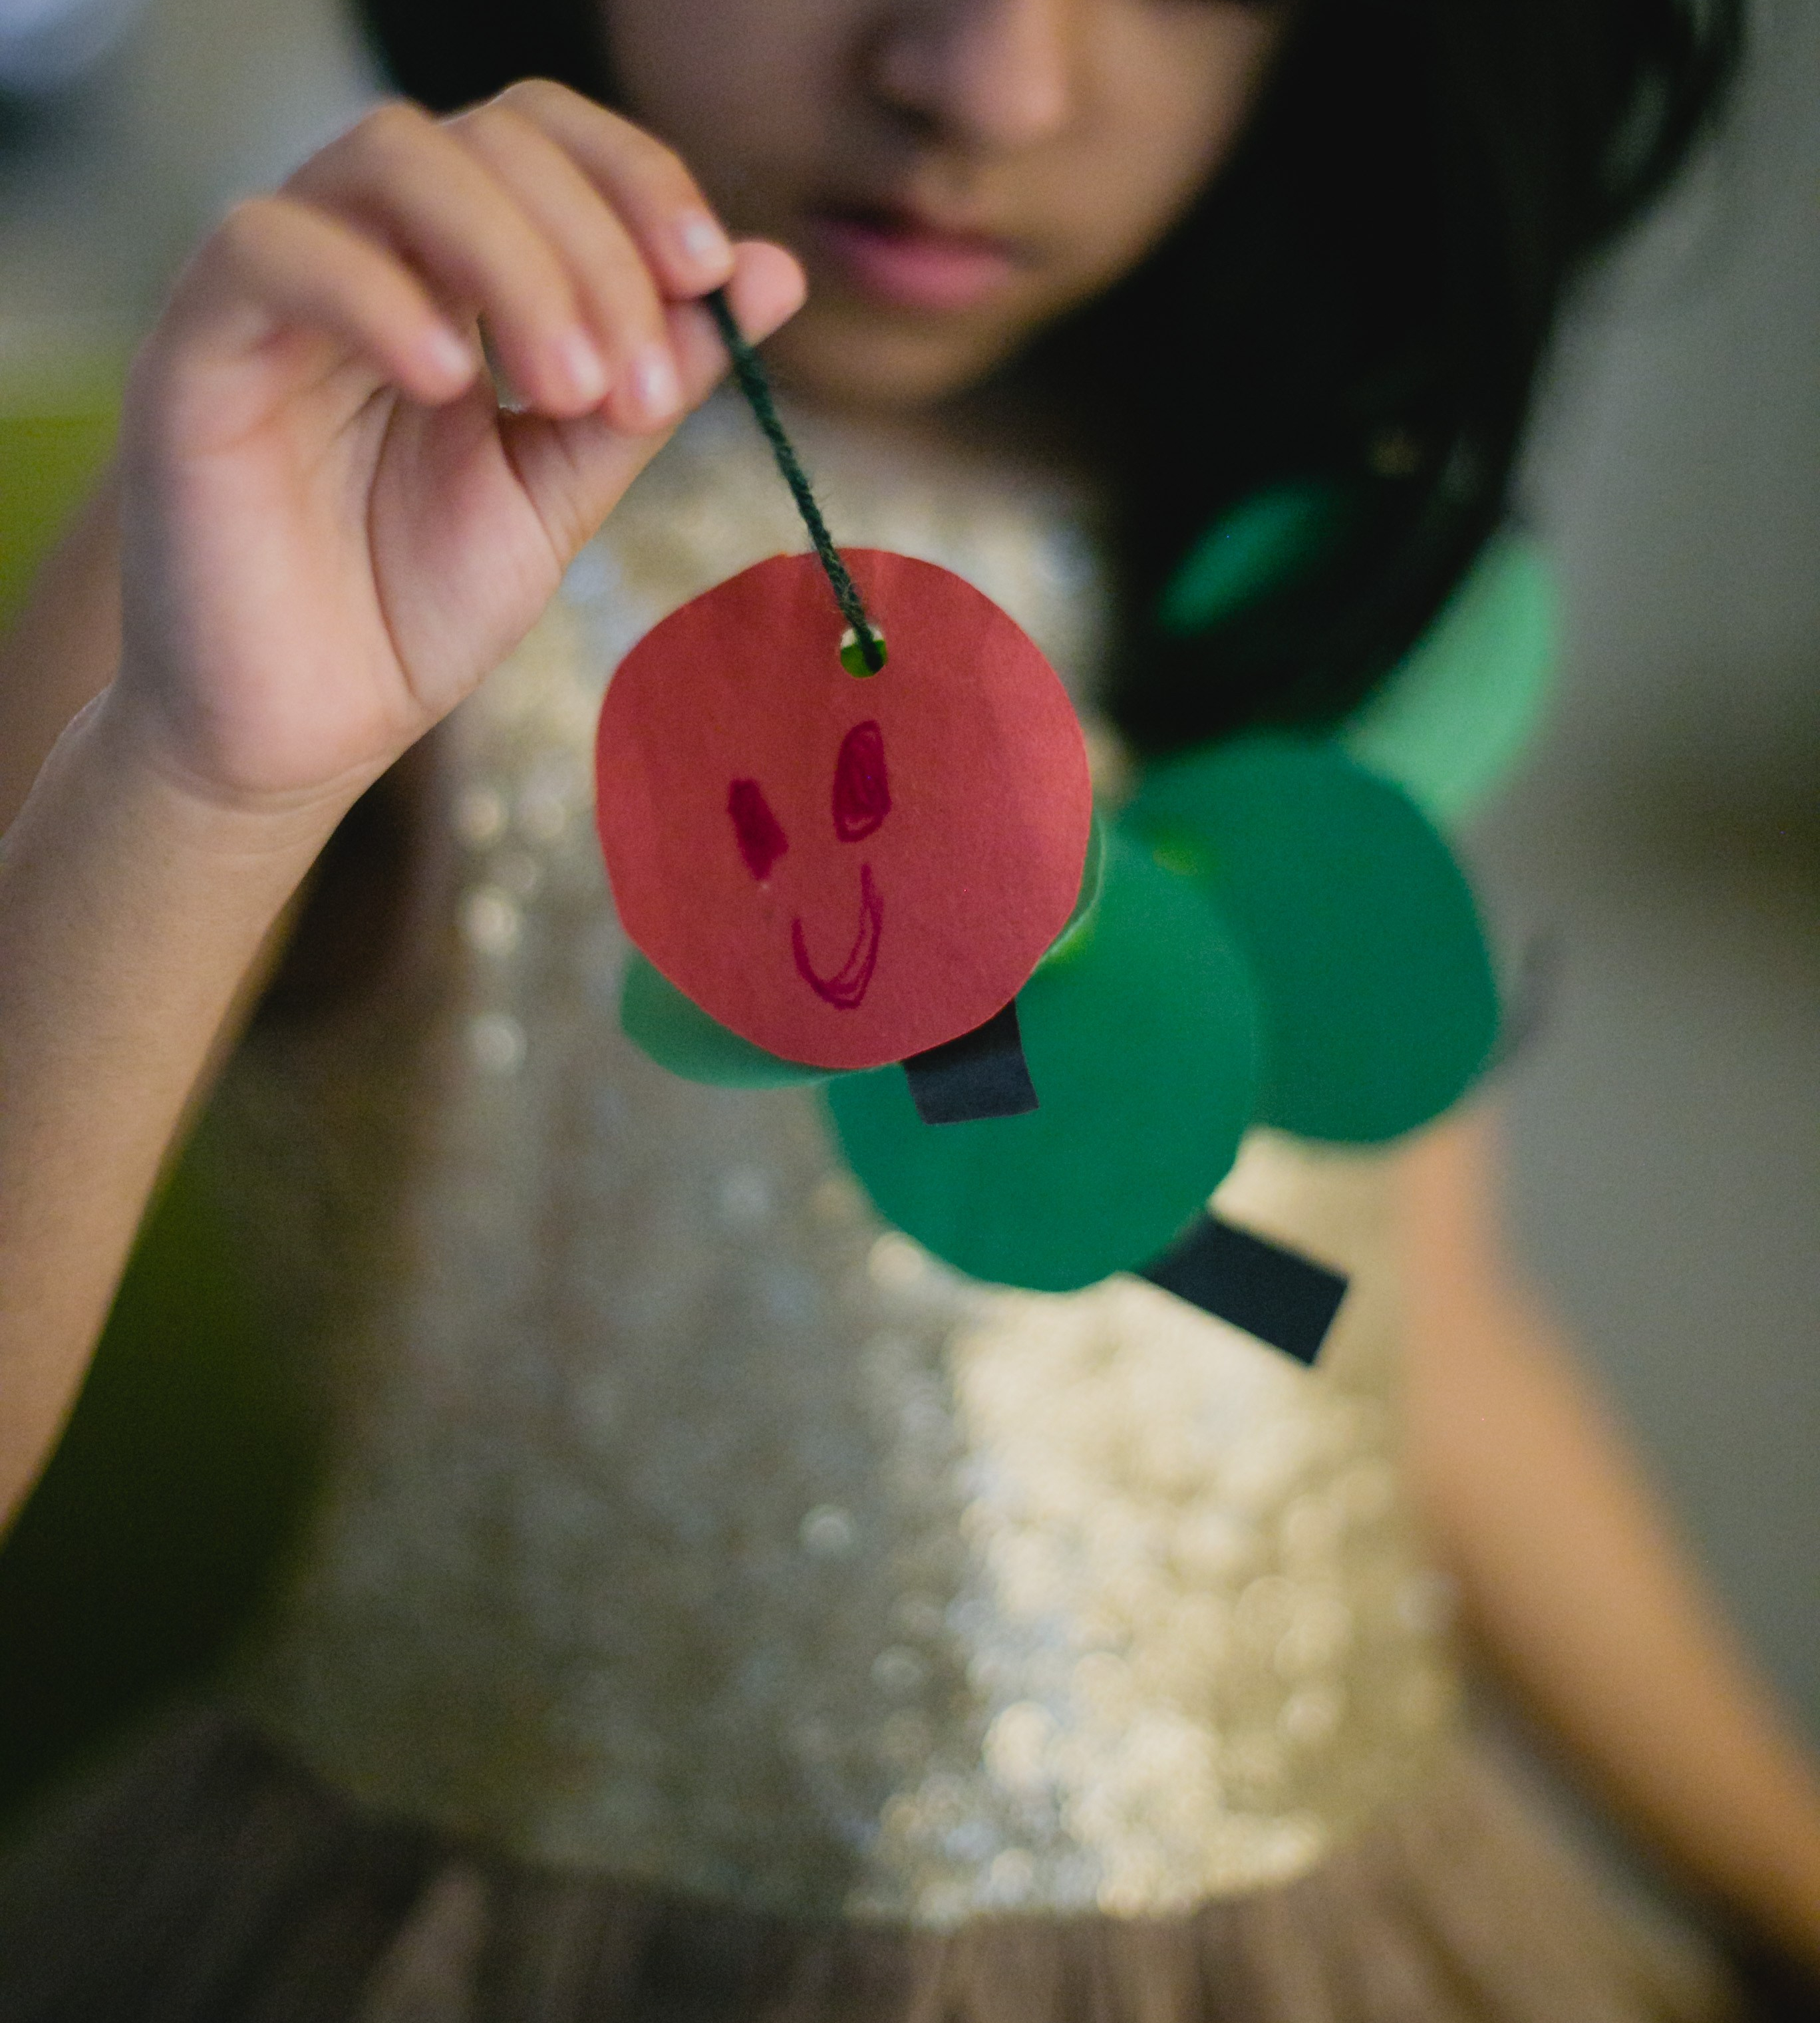
Here’s a little about this project first if you haven’t caught a glimpse of it yet. I ordered photo books, one for each school year for Anya, and used them to include photos + artwork + any other memorabilia from those years. My favorite part was that I was able to turn a full folder of artwork into this thin, slim book that now sits in our bookshelf and I don’t feel guilty about recycling most of those papers (I will save a few to hang up or for memory-sake, but just VERY few & will share more about that another time too).
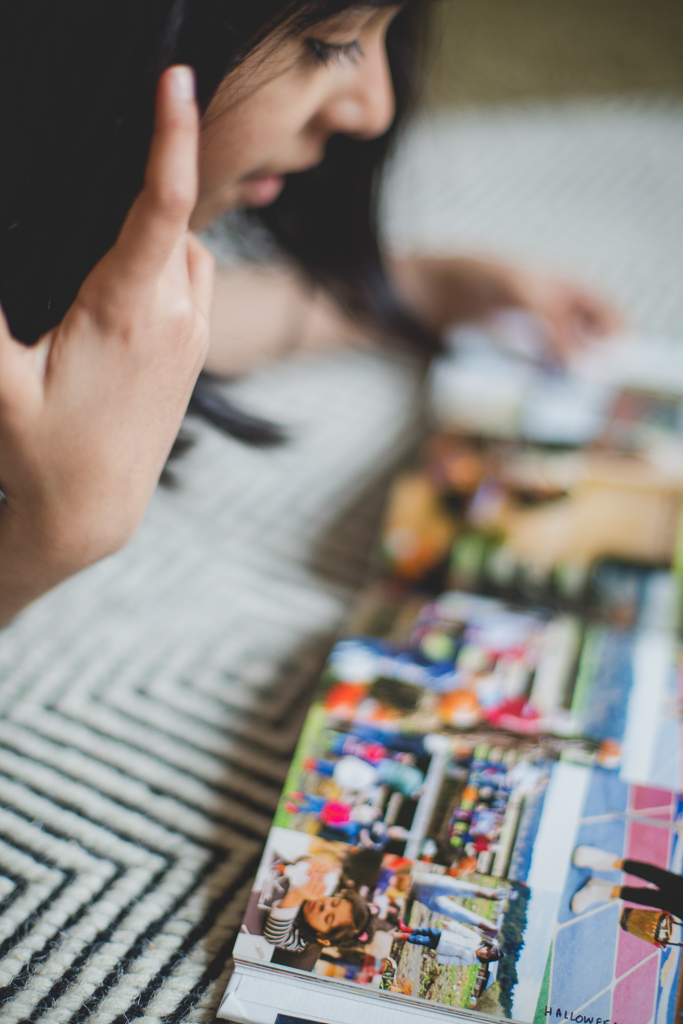
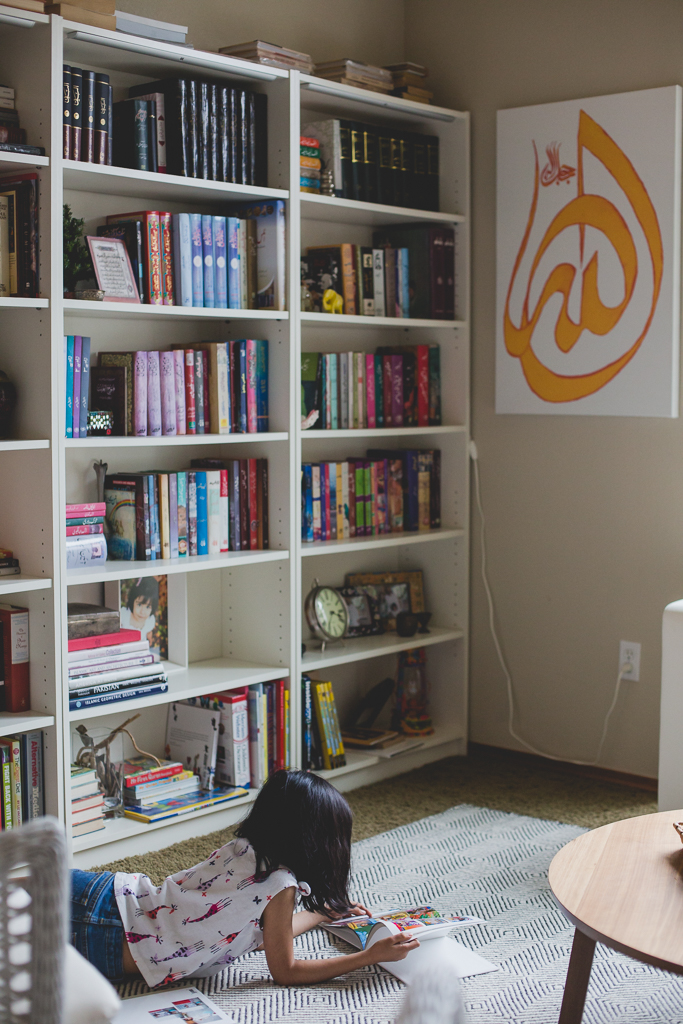
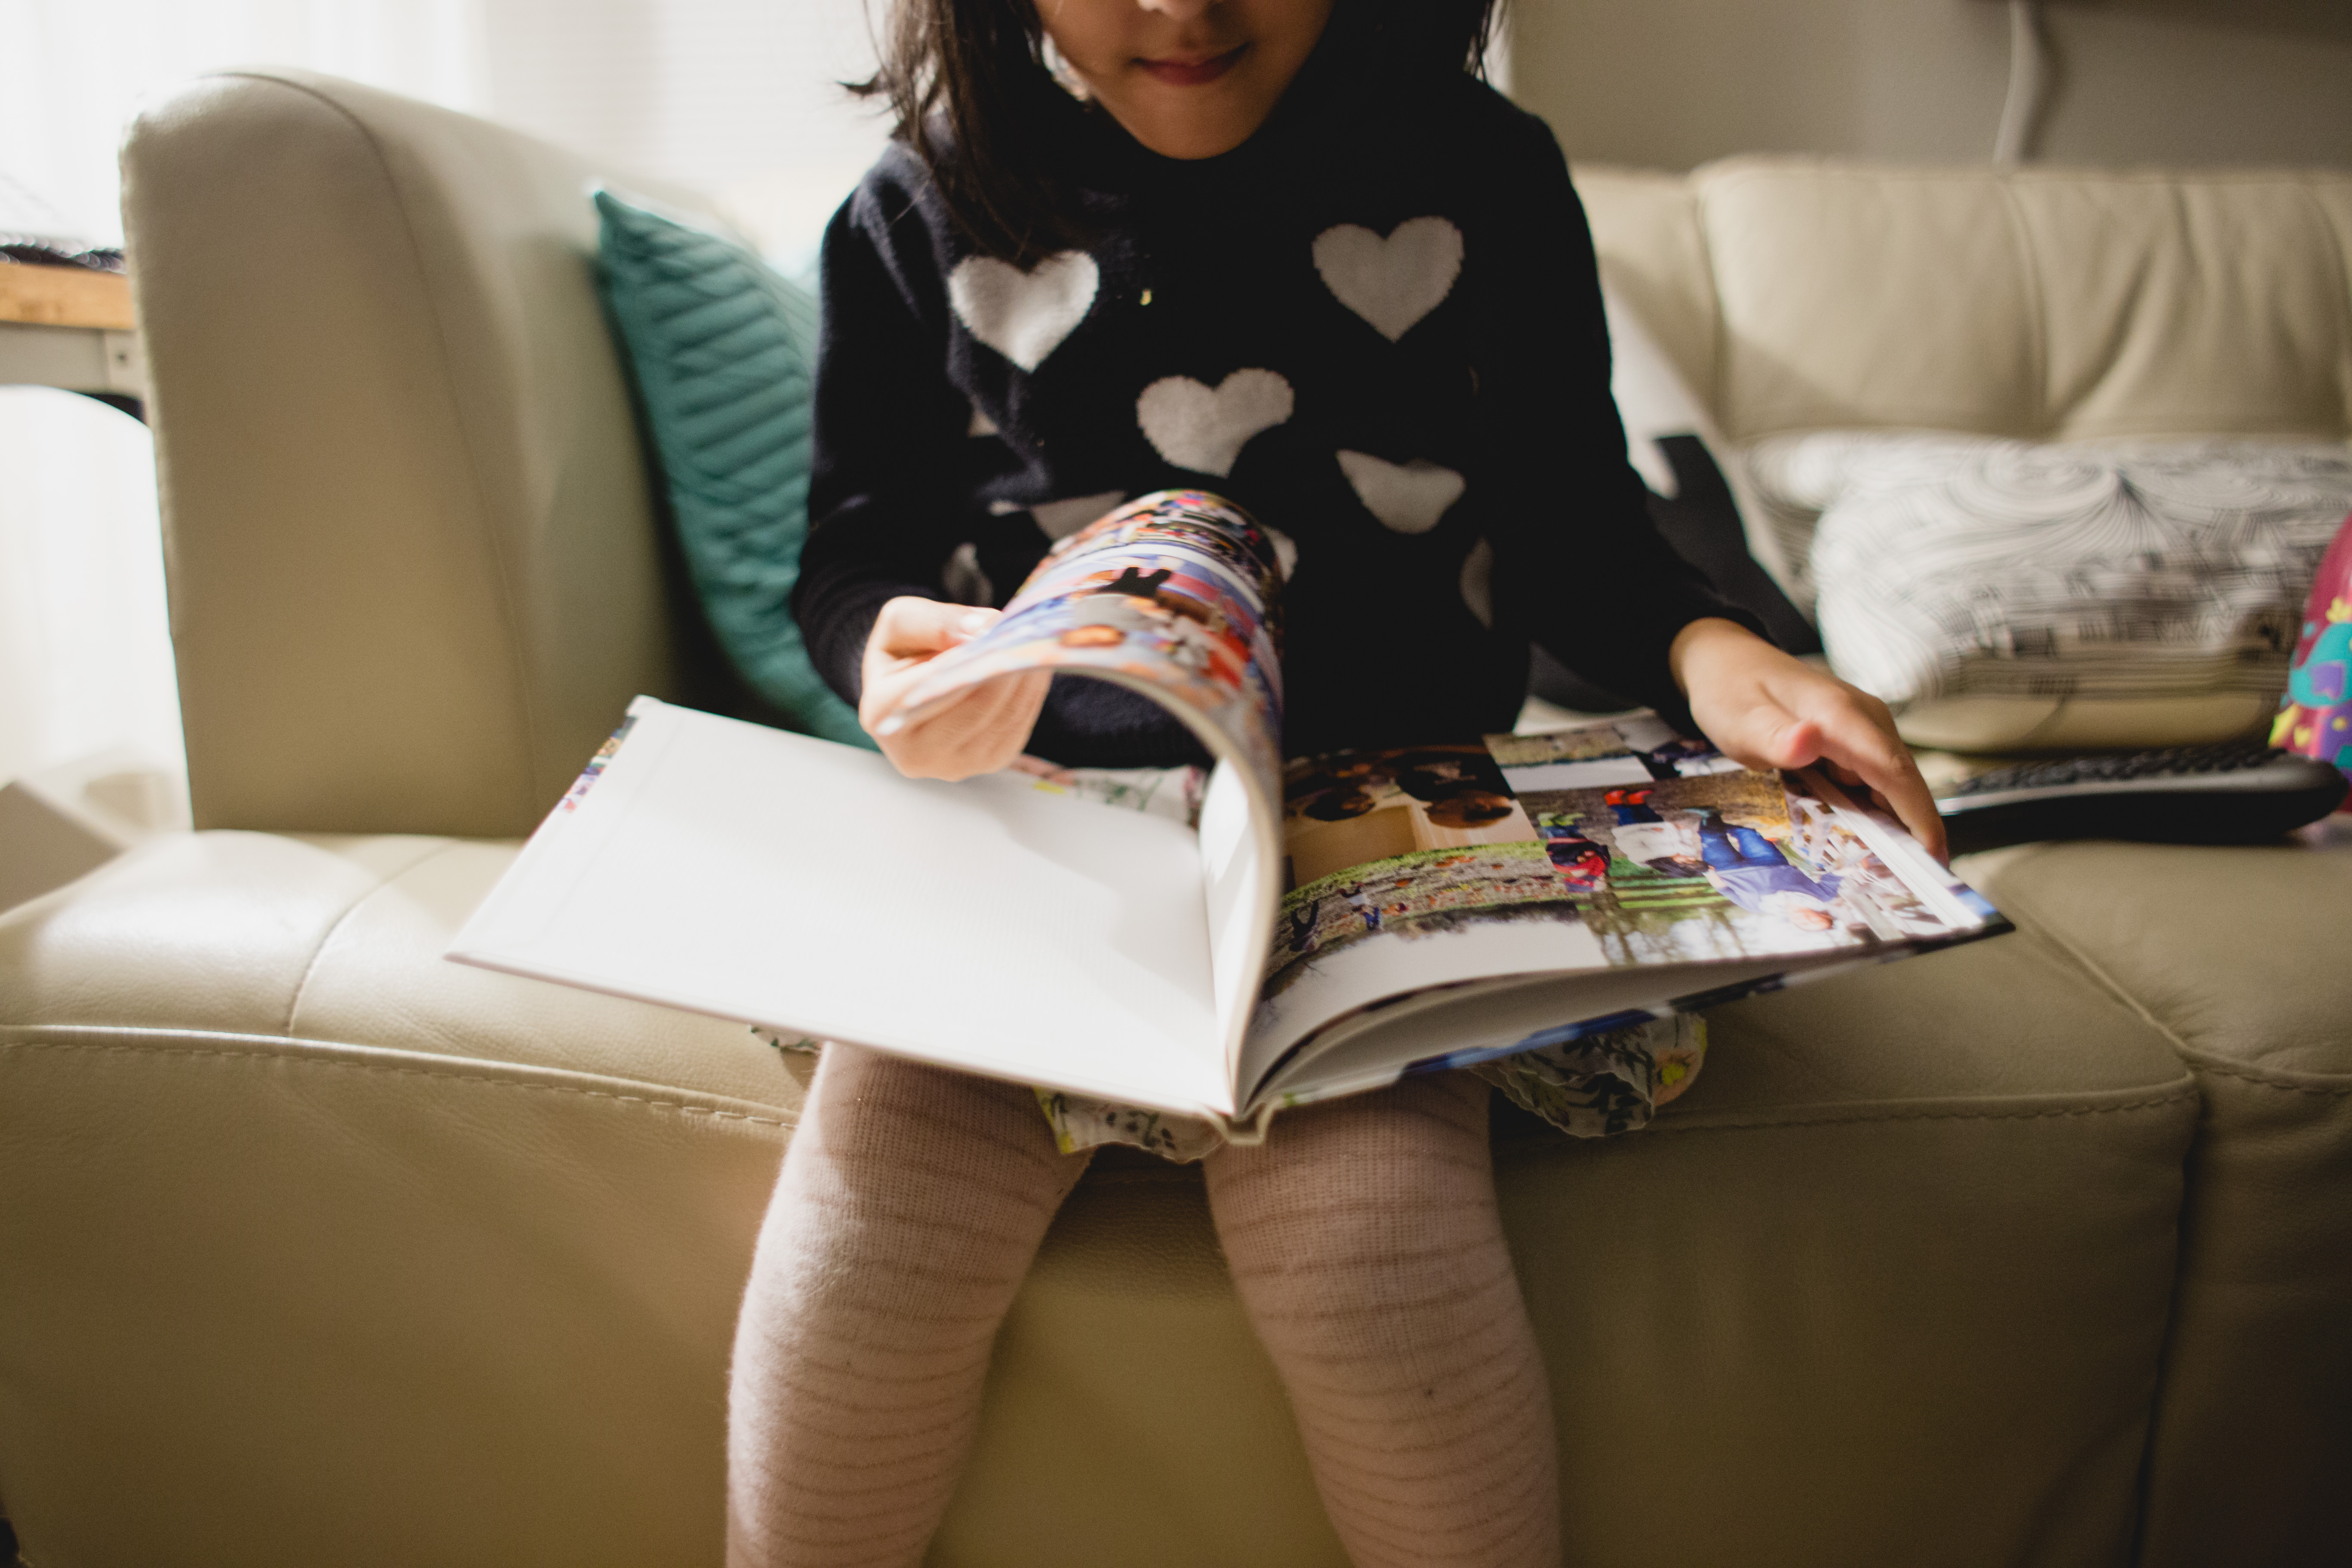
Scroll down for more details & the process but first more glimpses of these books ( and Anya going through them).


WHAT I INCLUDED IN THE PHOTOBOOK
// photos of //
- artwork + any school work.
- everyday school days.
- special events at school eg: halloween, pyjamas day etc.
- photo with their teacher.
- with school friends (including playdates / birthdays)
- school photos.
THE PROCESS
// THE MEMORY-KEEPING //
1. During the course of the year, I keep a folder to store artwork + any other special projects like I think most people do.
2. I also take random photos during the year at pick-up or drop-off time. And also make sure to take photos on days when I’m in her class, volunteering or otherwise.
3. Once the school year was done, I went through the artwork/papers to save favorites and recycle the rest. What I was looking for as I culled through them was, original drawings that she made on her own + basic writing because it’s so fun to look back at these.
// TAKING THE PHOTOS //
4. The first year I used my dslr, but went with my phone to take pictures of the artwork etc the second time. Either way the best way to do the photos is near a window to get indirect daylight and to lay the items on a flat surface like a table or the floor and taking the picture straight from above. A white foam board from a dollar store makes a great background for doing this. For 3D art items, I had her hold them and took photos.
5. I use Lightroom to edit my camera photos & VSCO on my phone to edit phone photos. Just some basic editing of increasing the brightness & contrast can do the job for most cases. With phone cameras getting better and better, it is getting so much easier to take great quality photos even with your phone!


// DESIGNING THE BOOK //
6. Because I’m too lazy to connect my phone to the computer and go that route, I just uploaded photos from my phone to Google Photos (if you haven’t already, you NEED to download the app right now.. more magic stuff about that in another post maybe) and downloaded photos from there to my laptop. Uploaded photos to the website (I used Shutterfly) and give yourself a quick hour to make your book.
7. I do not write inside the book much except for some basics like the title etc. I feel it would make the process longer and more chances of not getting done. ALSO, I do appreciate simple books and love the option of using a sharpie pen to writing any dates or important stuff directly on the book once I have it in my hands.
// USING SHUTTERFLY & ORDERING THE BOOKS. //
8. I used Shutterfly to order these books (I had their FREE photo book coupon that I had planned to use). They send those out very commonly and so if you’re patient you can make your book, wait till you receive one and then order it. I love their 8X8 size and using their simple+modern page layouts. This is the layout I used in these books.
(My favorite formula for a beautiful looking book // Choose modern white designs with straight lines // modern typeface // layouts with lots of photos but mixed in with a few full-page photos // Add a beautiful quote, your kid’s quote or song lyric to complete the feel //)

And that’s it! I hope this inspires you to make your own. And if you have any questions, feel free to ask away!
Thanks for reading!
ALSO : Photobooks as gifts / Photo Guestbook for my sister’s wedding.
