

I’m so excited to finally put this this out into the world (if you were waiting on this, I’m so sorry it took this long). If you weren’t following along (or maybe forgot; I dont blame you haha), let me tell you that this took years to happen & then it’s taking me another year to share.
Doing this in two parts : this one to share a little bit of the process & then a part 2 to share details on the artwork + some tips on making your own.
Here’s the original post on what it was like before. This updated wall is a mix of some of the same artwork + some more. ALSO: Some of the art has been following us since this gallery wall in our old house. | More here


DESIGN INSPIRATION + SOME DETAILS
The inspiration
For a while I had been collecting inspiration for an art wall re-do (images that had been speaking to me: this, this, this ). And I realized there were a few similarities in the images that were inspiring me: 1: simple, modern frames ; 2: the right balance of bold + simple artwork ; 3: floor to ceiling layouts.
Having this in my head helped make this a lot easier because I KNEW the look I wanted.

The Artwork
I wanted to mix colorful art with serene photography & some black & white sketches to give a modern, calm vibe that I was going for. All of the art we had from our families + the photography prints from my shop (more on that below) + framing some of Bilal & Anya’s work & adding in a few pieces & we were good!
Adding links to their work: Shireen Gheba, Shafaq-us-sahar, Sobia, Chelsea, Sabika
The Frames
For the look I wanted, I stuck with a simple modern frame & stayed within these four colors, Black, White, Gold & Wood. Personally, I like the eclectic feel of that compared to one color for this wall.
My favorite places for frames: Ikea’s Ribba & Hovsta lines | Amazon (I have some options linked in my Amazon store) | I also used custom framing from Frame It Easy (more below) |
ALSO check out these places for simple, modern frames : Target | West Elm | Crate & Barrel
The Layout
If you search online, they’ll tell you to use paper cutouts to plan your wall before putting your art up. I don’t have that kind of patience though in the past I’ve laid out art out on the floor to plan (here’s a helpful post on these). This wall was too big to plan like that so I came up with a plan suddenly, I made a Canva template to scale with boxes representing my artwork & then used it as a guide to hang my art. That gave me a good idea if my art would fit & give me the look I wanted. It might sound crazy but it was actually quite easy & worked well.

PRINT STORE

I was so excited to finally frame some of my own photos for our walls. There is something about simple, serene photography on the walls that I find very calming. I have three of my favorites taken on random trips over the years up on this wall & love looking them.


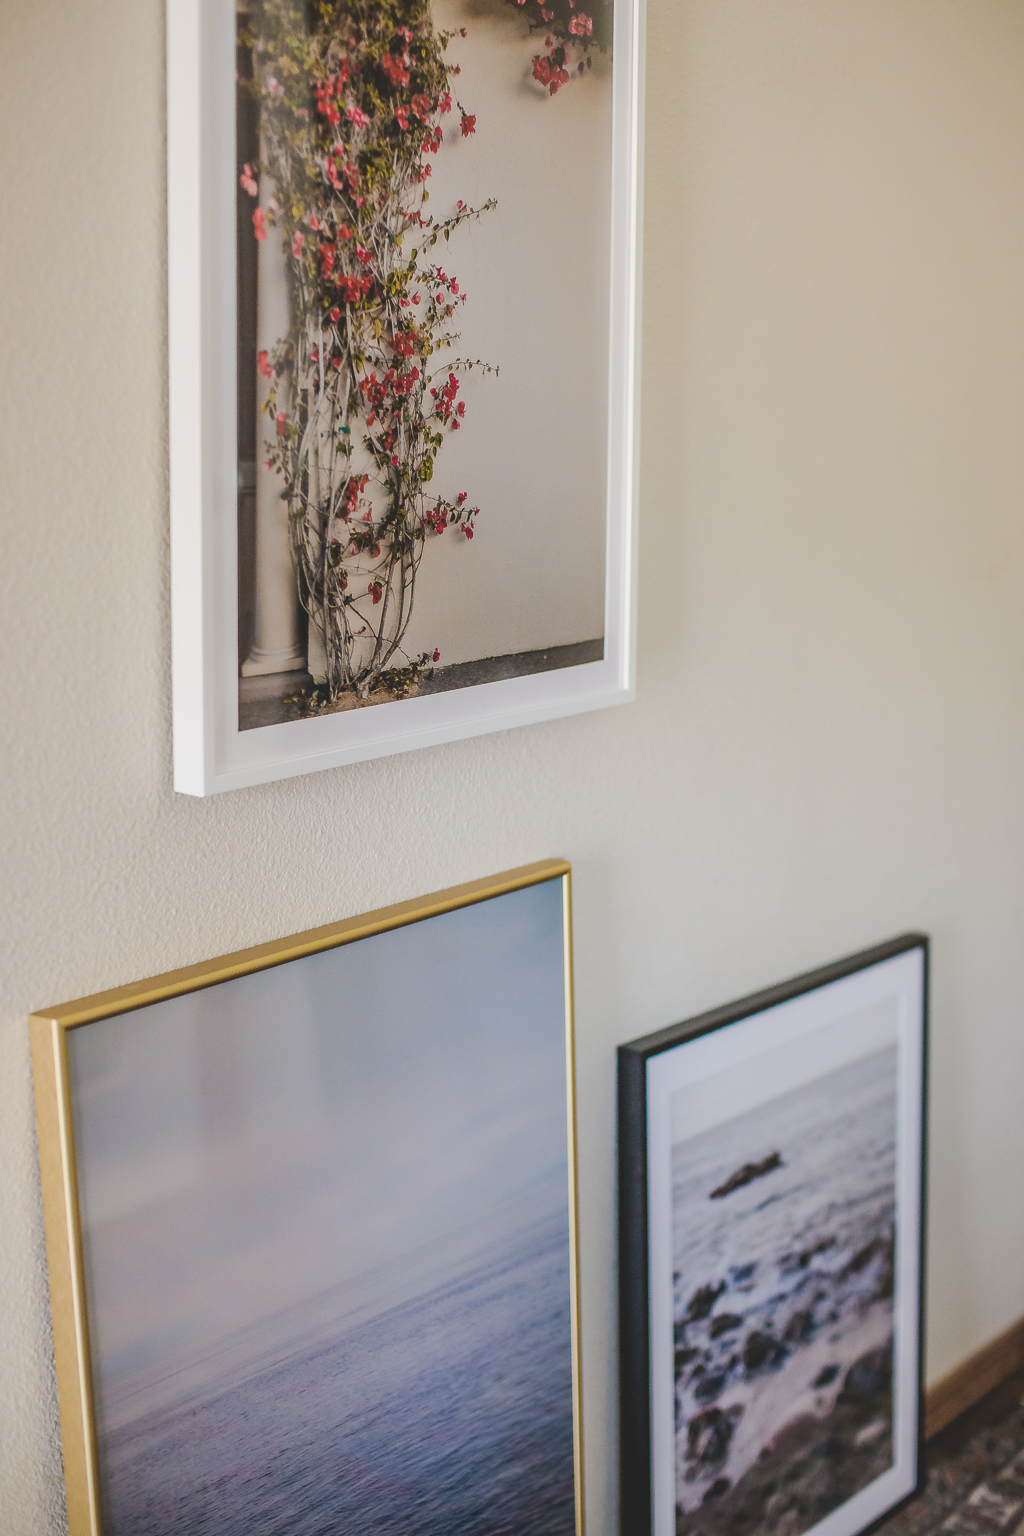

The prints in my store are all digital & can be printed in any size to use as art, posters, cards or anything else. Linking them here: Ocean | Rocky Waves | Bougenvilleas
The custom framed were a partnership with Frame It Easy & I absolutely love the quality & the experience. The frames can be ordered in any size & come with nails & all the hanging hardware you need. Of all of the custom framing options, I found their pricing to be the most affordable. Do check it out.
Hope you enjoyed this little glimpse. There’s a behind the scenes reel on Instagram too. Check back for Part 2 with details on the artwork + some basic tips I’d love to share if you’d like to make your own.
Lots of love.
